Posts

Showing posts from January, 2017

Happiness Forever

Image
Welcome again to another end of month page layout for Just Add Flair I am still working on my Brag Book Album I have plenty of photos to create with. Such a joyous little one. I just loved this new Kaisercraft Range even though it is a Valentines theme it suited my Grand daughters photos. Go and check out the lovely flair buttons at Just Add Flair Just Add Flair product Blake flair button Other products used Kaisercraft Ballet pink cardstock Kaisercraft PS I love you Collection - Courtship, soul mates, companionship and beloved papers - Collectables Kaisercraft blush pearls Wooden word and hearts Lace flowers and lace from  my stash Gold glitter Green tara flowers edge distresser white paint and glue for the word and hearts Thank you for visiting Candy Chelepy 2017 Just Add Flair DT

Jump Jump Jump

Image
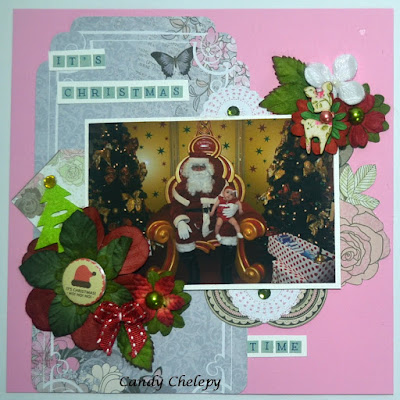
My second layout for Just Add Flair for this month. Yes another Christmas photo, again another of Keira my friends daughter.  I'll get her album finished in no time.... Just Add Flair products Yule Flair button Wooden round spot button Other products used Pink and white cardstock Bo Bunny Noteworthy Collection - Emphoria and bling Assorted flowers and bow from my stash Letter stickers Thank you for visiting Candy Chelepy 2017 DT member

It's Christmas Time

Image
Welcome everyone to my first tutorial for the year for Just Add Flair With another Christmas behind us, I think the older we get the faster the year goes they just seem to fly by. Today I am creating another layour using my friends daughters photo. Keira was a new baby, her very first Christmas. How exciting... Just Add Flair products Candy Flair button Buttons wooden deer Other products used Pink and white cardstock Bo Bunny Noteworthy collection - Emphoria and bling Assorted flowers and a bow from my stash Letter stickers Thank you for visiting Candy Chelepy Just Add Flair  2017 DT member

Covered Notebook

Image
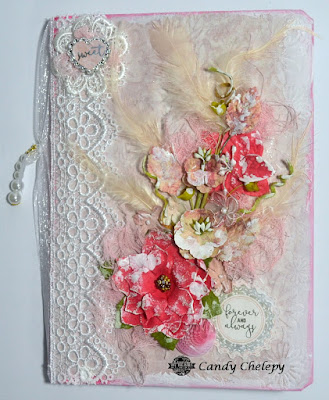
Hello there everyone welcome to another year. Today I am creating for  Off the Rails This is my first tutorial for the year and there will be many more to come. I have made for you all today a covered note book, it is 8 1/2 x 6 inches We had a mood board this month.  We had to choose which colour scheme we liked and used it with white only.  So this is what I have come up with.  I got my hands very dirty I chose pink of course. As I said I started with an ordinary note book.  I cut a piece of patterned paper to 10 1/2 x 12 inches and then scored it at 7 and 7 5/8 inches  this makes it easier to bend around the spine of your book. I have used some 3/4 inch double sided tape and taped it to the wrong side of your paper, making sure you put plenty on as being a note book it will be opened and closed a lot and we don't want it to fall apart. Then lay your paper on your table and place the book on top of it lining up the...