Memory Maze DT - February
Hello everyone, hope you all had a wonderful Christmas and New Year. I know I did a very quiet one for me this year.
Today I have been wanting to decorate the outside of my Mixed Media Art Journal, so here goes. Ready to get your hands dirty, very very dirty.

I am using a A4 art journal and I had an old art canvas that I didn't need anymore. So I cut the canvas from it and then laid the journal out flat, cut around the edge leaving about 2 inches around the edges. I used matt medium to glue this together. You will need a good strong glue to keep this from coming off.

I left this to dry overnight. Open your journal up and place face down, this makes it easier to work with. I then used my Memory Maze spotty mask and texture paste and covered all over the back and front of the journal. Let this dry then from my stash I used a script mask and did the same thing. This is giving you texture. Make sure this is dry.

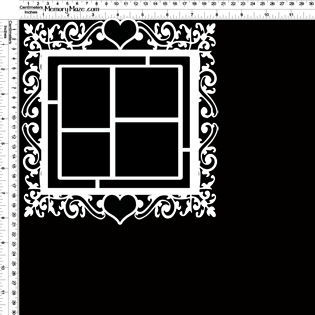
I gathered my Memory Maze chipboard pieces, some metal bits and pieces and a couple of resin flowers. I cut the word Art from some scraps of chipboard I had on hand.

I then placed all my pieces on the front of my journal where I wanted them. I then took a photo with my phone so I new where to place them back.


Once this was all very dry. I had some Golden crackle paste and spread it around and over the chipboard and my cover. Let that dry well before you start to add colour. I did this on the back as well as the spine, you want it to come together as one. I let this dry naturally as it will crackle better.

Cover everything with gesso so it is all white. This is so the coulor will show up nicely. These are the colours I have used Lindy's sprays - Califronia poppy gold, Time travel teal, T - bird turquoise and Red hot poka orange. I used a water spray bottle to blend them all together, but dry in between the colours or you will have mud.

After this is all dry I added some bling I used Gold gilding chips, Velvet and stirling glass glitter I have used matt medium to glue these on I then heat set them and the gliding melted a looked really lovely. I glued it around the flowers and the middle section.

I had some gold Rub n buff and went over the textures and the outer edge of the journal.

Everything seemed to get a bit lost so I went over with some white gesso, just the flowers etc and the raised bits with a dry brush method.

I then used a black gel pen and doodles around and over all the raised pieces. This helped everything to stand out.

Memory Maze product
.jpg)
Thank you for visiting

Candy Chelepy
2016 Dt Member
Memory Maze


Love this! Bloggie Love
ReplyDeleteThat is soooo cool and vintage looking. Love it. BL
ReplyDeleteWow! This is amazing! Love it! BL
ReplyDeleteSimply stunning! Love the chipboard and the colors! bl
ReplyDeleteThis is gorgeous! Love it! BL
ReplyDeleteWOW! So beautiful! BL
ReplyDeleteFun project. BL
ReplyDeleteWow!! This is so very pretty. The color combo is really great!! BL
ReplyDeleteBEAUTIFUL!!!! BL
ReplyDeleteThat just looks awesome Candy and makes me want to get dirty :)
ReplyDeleteHi Candy, this is fabulous, love your instructions, I think I shall have a go at this as I just bought a whole roll of canvas and don't know what to do with it. Not sure why I bought it really, Oh yes I know it was a real bargain!!!! Bloggie Love x
ReplyDeleteHi Candy, love this and all the steps, really fabulous x Carole Bloggy Love
ReplyDeletestunning layers of beautiful.. BL
ReplyDeleteJust gorgeous, love the memory maze products they look amazing and great photo tutorial as well, thanks for the inspiration. BL
ReplyDeleteGorgeous box!!! Really love how this turned out and the colors you used are beautiful! Just stopping by from the Bloggie Love Facebook group to say Hi!
ReplyDeleteHugs Elina BL